You cannot turn your iPad into a giant 3DS with a $1.4 plastic sheet
This post originally appeared on my cohost blog.
If you like gimmicky lenticular/“3D” postcards, you may be tempted to buy some blanks and try to make your own. And when the blanks arrive and you realize that printing actual photos on actual photo paper is complicated and expensive, and getting everything aligned right will probably take a few attempts, you may be tempted to just tape the lenticular sheet to your computer screen and create the world’s jankiest 3D display. But it’s not going to work.
Here’s a test image:

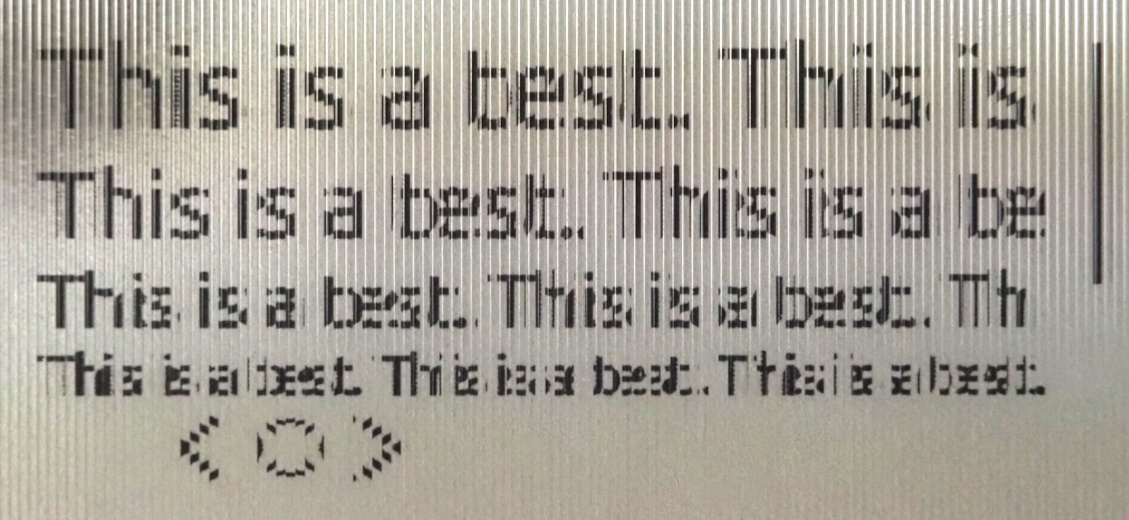
Let’s print it on a sheet of paper (at 600 DPI, scaled so that the vertical bar on the right is exactly 1/2" tall) and look at it through the lenticular sheet:

My sheets are advertised as 50 LPI (lines per inch), so the way they work is that the sheet is made up of vertical lines that are 1/50 = 0.02" wide each, and each of them acts as a little lens that only shows me a portion of the 0.02" wide column of paper underneath it. (You’ll notice it also happens to mirror it.) That’s why the resulting image appears kind of pixelated.
If I was making a 3D picture, I’d print a composite/interlaced image where 0.02" / 2 = 0.01" wide slices of the “left” and “right” images are alternating, and if I was making an animation with 3, 4, 5, … frames I’d have to make the slices 0.02" / 3 = 0.0067", 0.005", 0.004", … wide.
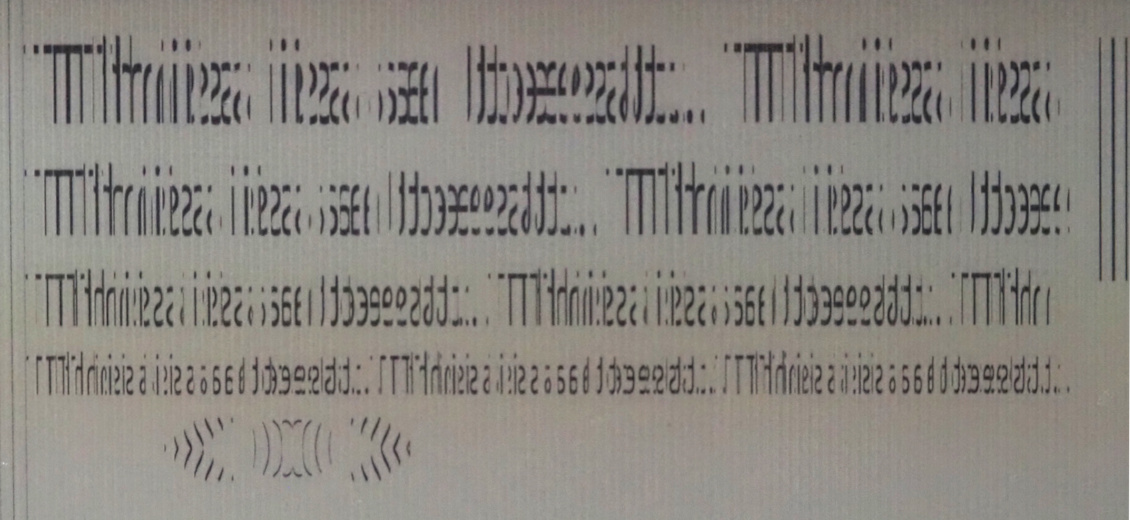
Now let’s display the same image on my Kobo e-reader’s 300 DPI E Ink screen (scaled so that physical dimensions stay the same):

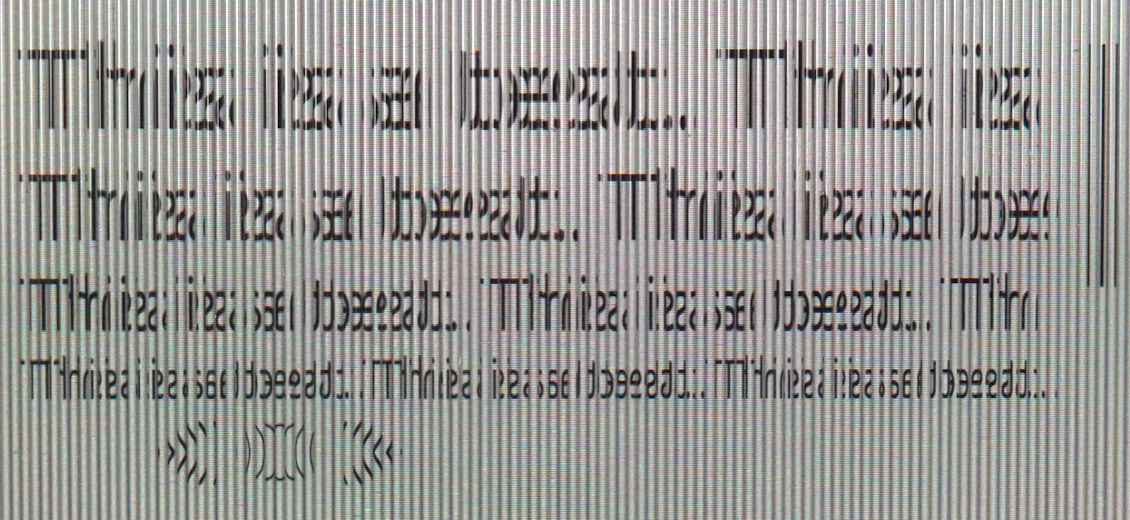
and on my iPad Pro 12.9" (2nd Generation), which in 2017 was specifically advertised for its 265 DPI laminated display, which should place pixels very close to the surface of the screen:

This is a mess. I think what’s going on here is that, because there is still some distance between the actual pixels (either the Kobo’s E Ink or the iPad’s IPS ones) and the surface of the display (where the lenticular sheet begins), light that’s passing through the lenticular sheet travels a bit further than intended and actually overshoots into an adjacent column. (This is where I’d insert one of those Physics 101 ray diagrams if I was in the mood to touch Inkscape tonight.)
This is especially apparent if you post-process the image by manually mirroring the columns to restore their original orientation:

I don’t think you can correct for this by pre-processing the image, because you literally get the same pixels shown multiple times in adjacent columns.
And that’s why you cannot turn your iPad into a giant 3DS with a $1.4 plastic sheet.